How to Cut Trails in the Great Maine Woods: 8 Steps with Photos
One. Buy wooded land.
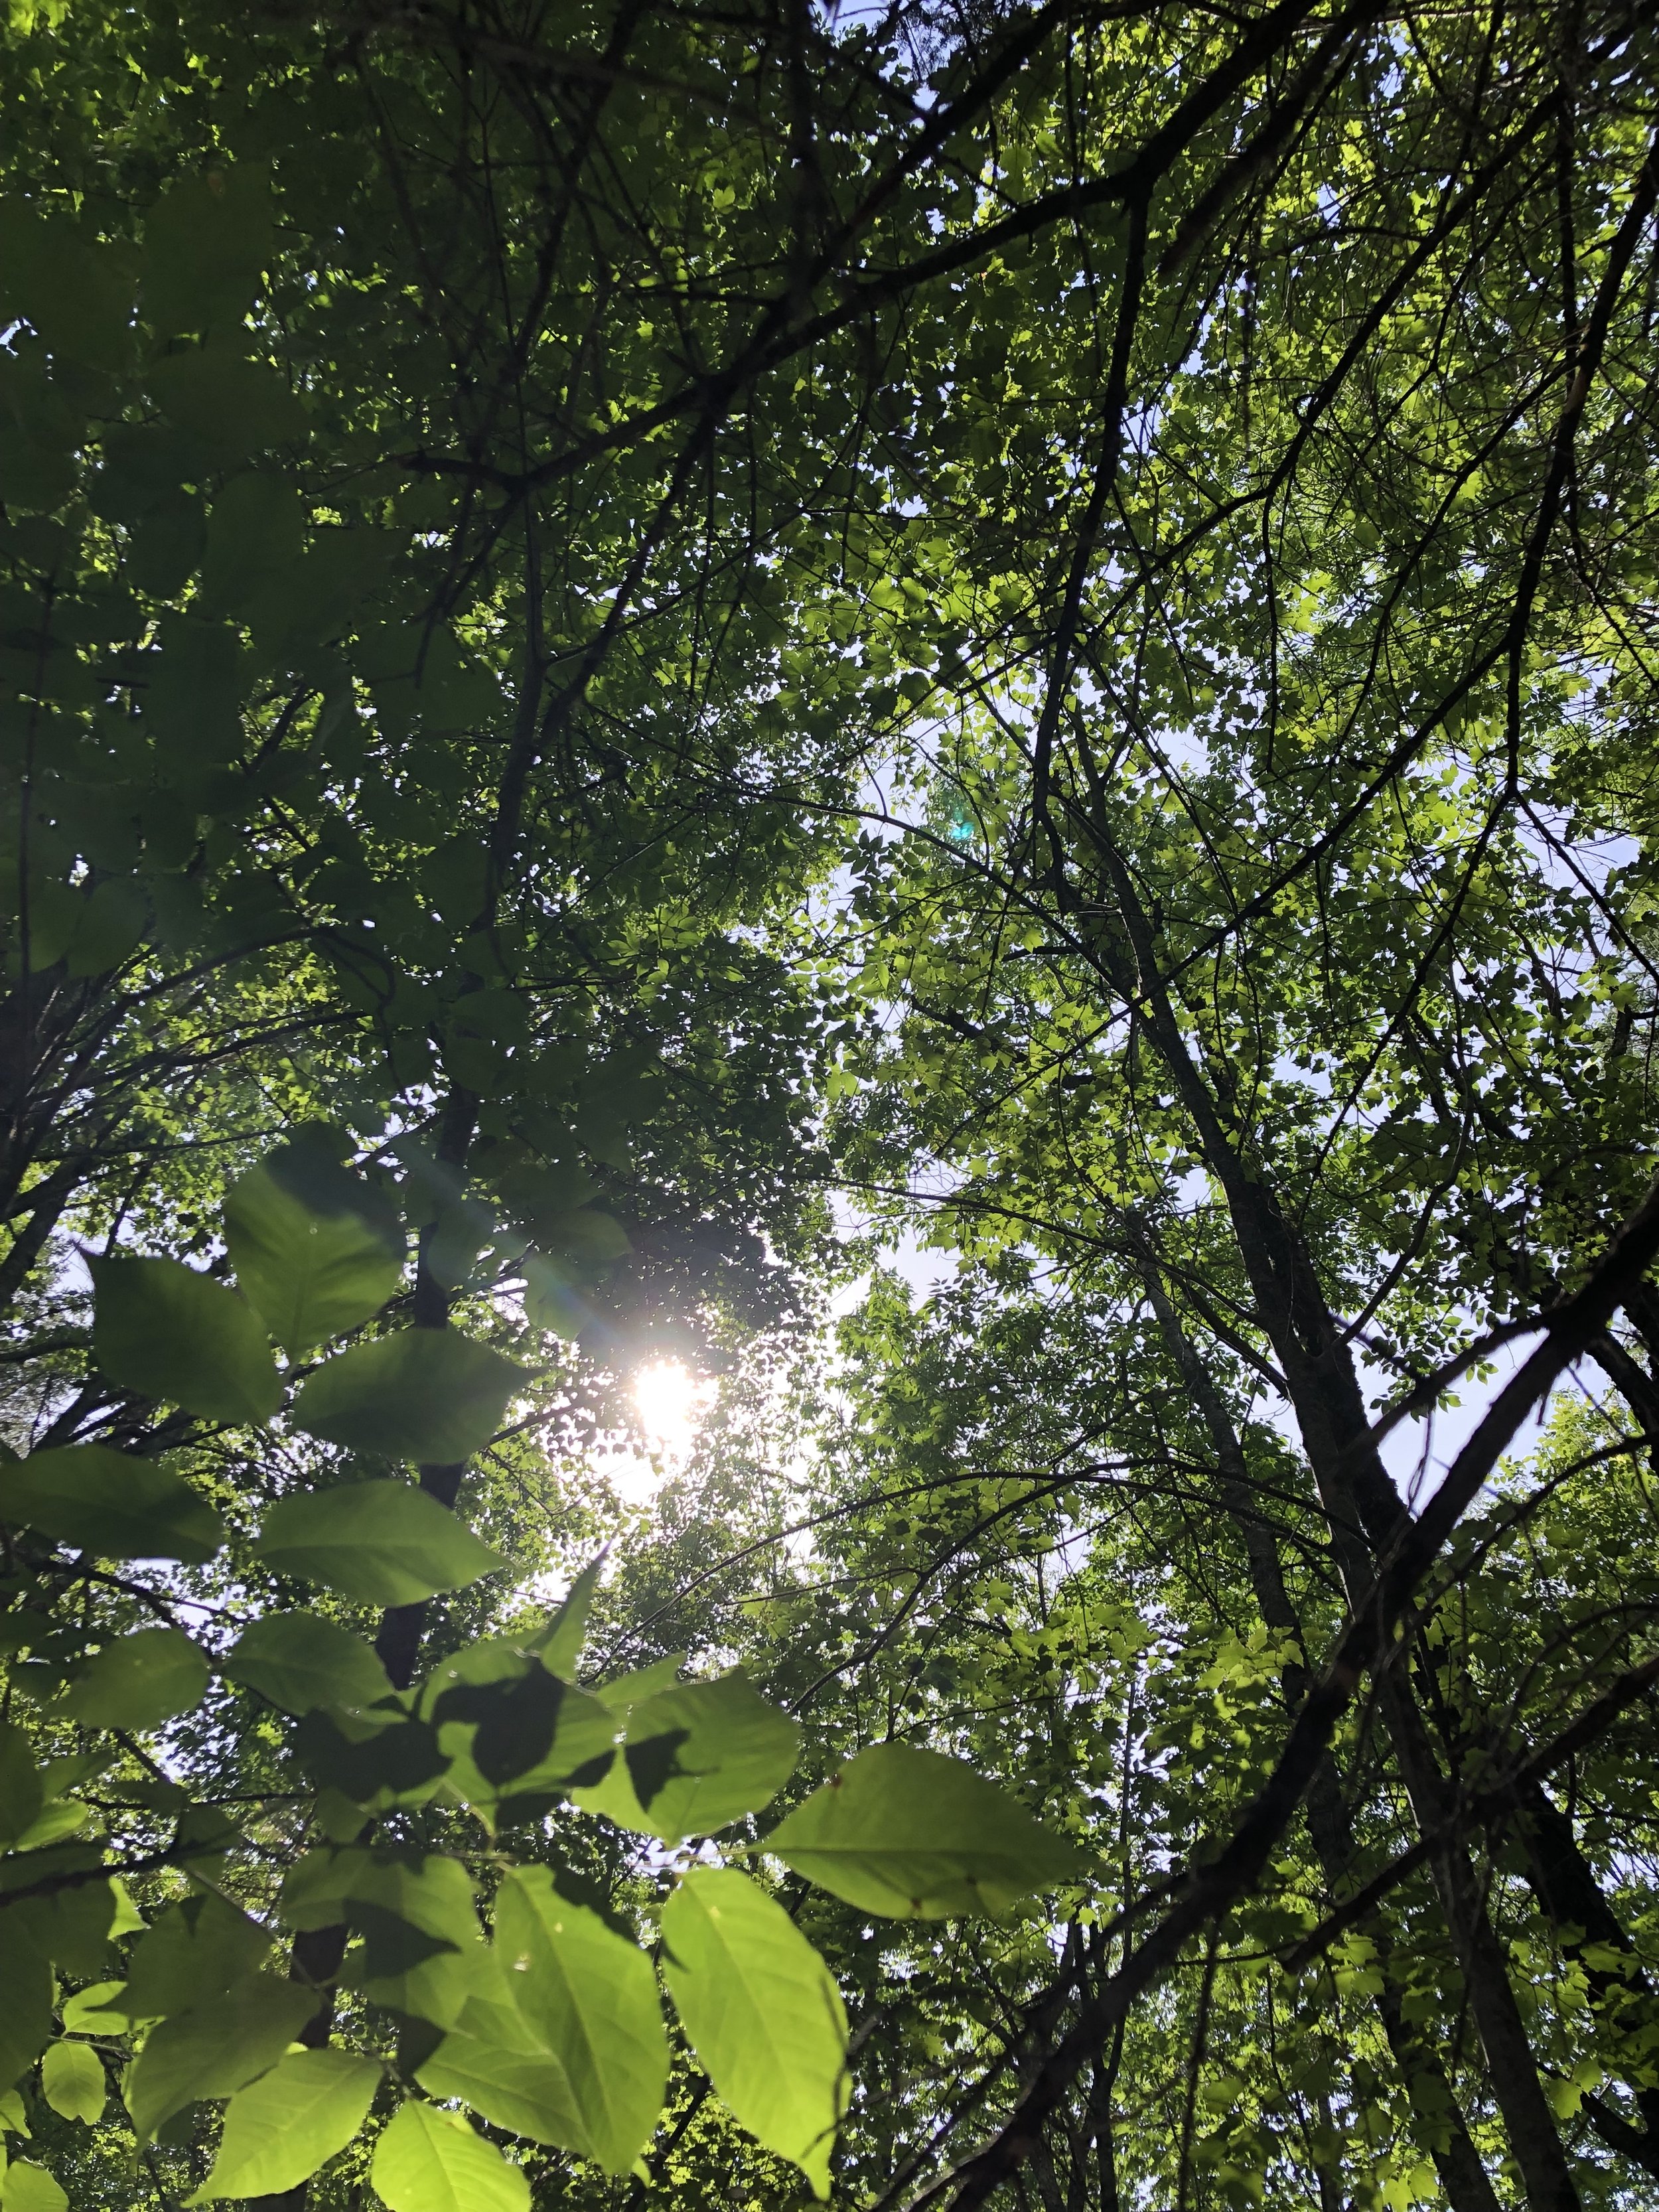
We are both proud and humbled to own thirteen unspoiled acres of green Maine woods. Aside from the old schoolhouse at the front of the property, the rest of this patch-‘o-trees is wild and dense, just the way we like it.
Note: If your property has lots of “widow-makers”—dead trees that have fallen partway over and are at risk of falling the rest of the way over at any time—you might want to hire a professional to clear them before you get going on your trails.
Two. Learn to read your survey and where your property boundaries lay.
Planning is an important second step. Right onto a copy of your map, draw a general network of lines toward and around those areas you’d like to make accessible by trail. The final product won’t follow this route exactly, but it’s good to start with a goal in mind.
Three. Grab a compass, a chainsaw, a pair of loppers, and a roll of marking tape.
If you have a Garmin or other GPS device, use it!
Here, you can see our trail (in light blue) dips down to the brook (in dark blue) at two separate points.
The four most useful tools for trail-cutting are:
a compass, so you can make sure you’re still headed in the right direction once you get out there where every brush pile looks like the same brush pile
a chainsaw (preferably electric, with an extra battery) for sawing pass-throughs out of fallen trees that just happen to be in your way
a pair of loppers for trimming ferns, saplings, and stubborn tree roots along your path
and a roll of fluorescent tape for marking standing trees every six feet or so, so you can see where you’ve been and where you’re going
Four. Add stairs.
If your property has any kind of varied topography at all, your trail may rise and dip in elevation, skirt around boulders, meander along rivers, or fall into ravines. Adding stairs to the more treacherous parts can keep your trail from becoming a slick mud slide when it rains and also help curb erosion. We made our stairs from sturdy, four-foot sections of fallen trunks, staked with one-inch-diameter spruce branches pounded in with a hatchet butt.
Five. Build bridges.
Literally! We’re not engineers over here, and you don’t have to be either. A simple 2’x12’ plank, beveled at each end to snug up against the bank and supported by a 4’x4’ post, forms our solid little bridge across this wet swale.
Now we just need a bridge troll.
Six. Mulch your trail.
Ideally, deer and other animals will begin using your trail, and their constant foot traffic will keep the cleared trail visible and the new growth down. A thick layer of mulch can be another great visual indicator that also helps prevent immediate regrowth of trimmed plants and saplings. Oh, and don’t bother buying mulch! Not only does that create a lot of plastic waste, but you have everything you need on your property already. Try gathering pine straw, or using a wood chipper to mulch fallen branches, which is what we did.
Seven. Hang a trail cam.
… for all the animal life you hope are walking your trail! The types and frequencies of wildlife crossings are sure to astound you. We’ve only heard, not seen, our resident foxes so far—but we’ve fallen in love with our resident fawns!
Can you spot the eyes?!
Eight. Sign it up.
The last step is to replace those neon flags with something more permanent, like wood cookies burned with your logo or metal signposts, which have the added bonus of being reflective at night. The options are endless. Whatever you choose should take utility into account while reflecting your taste and style!


